

Hello and welcome to my Izanami descend guide. This is a reasonably tricky descend and has numerous special boss abilities throughout the dungeon, but does provide two different boss drops: Light Izanami and Dark Izanami with the dark form evolving into one of the most coveted farmable subs in the game, Pacifying Yomi Goddess, Izanami. Do note the numbers follow a legendary (Mythic) pattern. Without further ado, let us jump right into the action! The following video was recorded at a later date so the images will not match!
First Turn Danger: Death in two turns regardless of difficulty if you fail to kill at least one of the two demons. You also get hit with a blinding attack as a preemptive move and thus may only have one real turn to attempt to deal damage.
Skill Lock Resist Danger: The fifth floor (out of six) has the Light Izanami do a premptive skill lock for 10 turns. Stalling this out is not horribly difficult, but her low hp may result in an unexpected premature kill and thus entering the boss floor with no actives.
Delayable: YES! Every floor in this descend is delayable and should you choose to bring one, I feel the boss floor is the safest place to use it (as the boss removes 2s to move orbs)
Risk of Monster Binds: there are no preemptive binds and being bound can only occur if you push a floor into certain hp thresholds.
Blind / Dark Attack: YES! You can be blinded preemptively on the first and third floor. This may prove lethal on the third floor as they tend to hit like a small truck every turn

Highest HP / Extreme Defense Floor: The highest hp floor you need to deal with is the boss at 2.4M (4.4M) hp who is on a one turn attack timer
Colour Preferences: There is no over bearing colour preference for this dungeon as it has a pretty healthy mixture of all elements with the exception of green monsters not being present. Only real danger would thus be bringing a green team who will have to handle a stronger floor 4. That being said, light and dark teams will have a slight edge as many floor start in either light or dark attribute.
Major Threats / Conclusion: This dungeon is exciting as it provides both deadly blind and skill lock resist mechanics. In addition, the boss also removes 2 seconds from your orb matching time which may result in less combos and/or death. Floor 4 can be where you either get a turn to breathe or a turn of panic, all depending on which dragon you encounter so there is some unavoidable RNG here.
Now we get to explore a floor by floor breakdown of the dungeon and what dangers it holds. Feel free to open the Legendary and Mythical PADx pages to have another visualization of the dungeon.
Floor One: You are warmly greeted to the dungeon with a preemptive blind attack right from the get go along with a minor damaging attack. You must kill at least one of the demons (I recommend the Light one) before they are allowed to do their synchronized 99% hp cut followed by Chop Off execute. If you kill one of the demons, they will still do their Sucker Punch (99% hp cut) and their Chop Off 5952 (11105) hit, thus why I recommend you kill off the light one if cannot clear both. You are able to tank both these hits with a shield active but may not be ready in time, but it just good to note you can survive this way. Once one is dead and they have done their first move, their second ability two turns later is to cast Lone Force which is simply a charge up for the next time they attack. This can provide a safe place to stall for actives if needed. DO note the following floor has a 3079 (5743) preemptive hit.

Floor Two: You will fight one of two dragons with both starting as light form at 670k (1.25M) hp. There is a preemptive strike from either dragon of 3079 (5743) so just ensure you have the hp to survive. At >50% hp, they will simply double hit for 6158 (11486) each turn so if you choose to stall here, just be prepared to deal with this barrage. Pushing them below 50% hp will cause them to bind your subs and then followed by up to 9236 (17230) damage per turn. I highly recommend you kill them while above 50% hp. Floor three has a dark attack preemptive so try to enter with as high hp as possible


Floor Three: You are welcomed to a New Moon aka preemptive dark attack by Yomi at 820k (1.53M) hp. If not resisted, you may need to take this turn to prepare your board by matching the dead colours and conserving heart orbs in case they do their Shadowed Moon attack, 6670 (12444), and convert one random orb colour to purple (can even do purple to purple too). But if they do their Night Sword hit 10005 (18666) you must be ready to absorb that damage. Yomi will give you a free turn if they are pushed below 30% hp as they will simply yell “Change the….” in anticipation for their execution hit of “World!” As such, you can use this free turn to your advantage when dealing damage as under 50% hp they will simply change X orb into light for 6670 (12444). ***One important thing to note is your health going into the next floor is irrelevant due to the 4th floor having a hp modifying preemptive and it can be either a full hp heal or 99% cut so do not be concerned of your hp; if anything, conserve heart orbs in a corner.


Floor 4: Now this is a crucial floor as it determines how enjoyable of a time you have for the remaining dungeon as the Red/Light dragon will heal you to full health and the Red/Dark will cut your health by 99%. As such, do not worry about your health entering into this floor as it will be modified anyway. I will discuss both dragons in detail:
- Red/Light has 932k (1.73M) hp and will change X orb -> red orbs with 8286 (15458) damage every 2 turns when above 50% hp. This allows for much needed stalling room as you should be able to handle this damage and safely recharge your skills. When under 50% he will bind your devils for 3-5 turns and then proceed to hit for 12429 (23187) every two turns. Kill before below 50% as he will simply deal damage if no devil present.
- Red/Dark is much scarier due to his preemptive 99% hp cut. He has less hp at 746k (1.39M) but being put at 1% hp makes stalling more difficult in addition to him dealing much higher damage above 50% hp, 11636 (21708) with X orb -> purple every 2 turns. You are able to use an active on floor 3 that provides a damage reduction and this will carry over on a kill to reduce the 99% hp cut. Thankfully, he is on a two turn timer so you can take one turn to heal, second to kill. If you push him below 50% hp, he will bind everyone for one turn and then on his next attack (2 turns later) execute you. So you are able to get an extra turn this way.

I kept getting invaded or friendly dragon this entire day and will post an evil Red/Dark guy when I (hopefully never) run into him =)
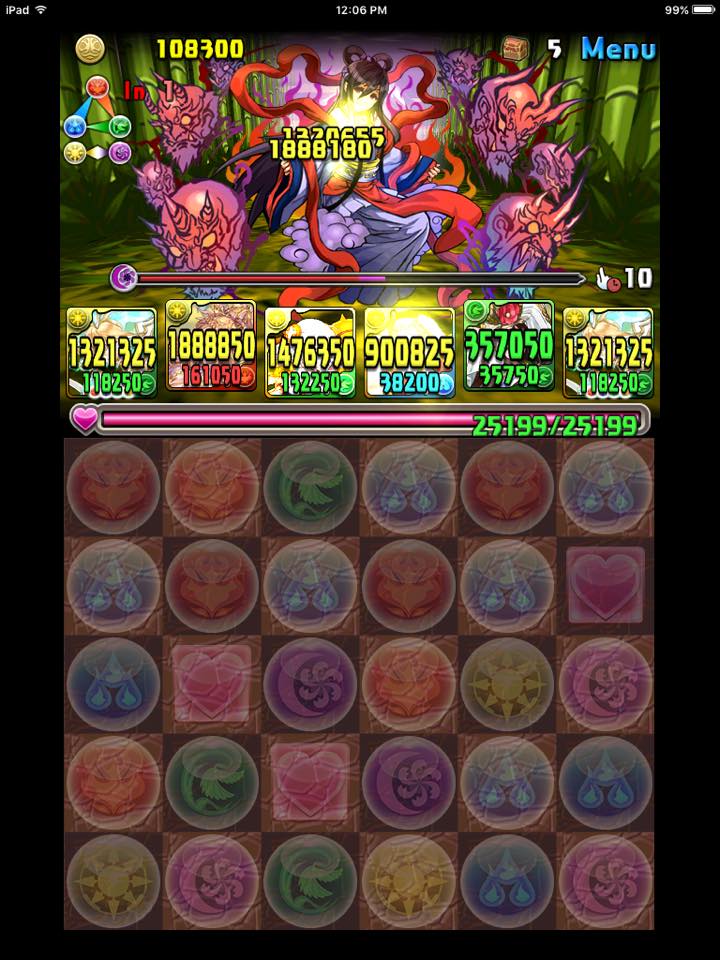
Floor 5: We are almost there!!! This descend used to be actually 5 floors with you fighting only one of the two Izanamis. However, we get to play with both back to back =D The light Izinami is relatively fragile with only 915k (1.61M) hp but her main danger is the preemptive skill lock for 10 turns. Now it is not horrible to stall out these ten turns (as you really do want actives for the boss), but you must be careful of damaging her below 30% in which you must kill her asap as the damage becomes too much to handle. While above 30% hp she only hits for 3973 (7005) or 3576 (6305) along with orb conversions. Luckily none remove hearts and thus stalling is viable. If you push her below 30% she will change three orb types into jammers and then proceed to hit for 9935 (17515) every turn. If this occurs, it may simply be best to finish her off and proceed to the 6th and final floor…..

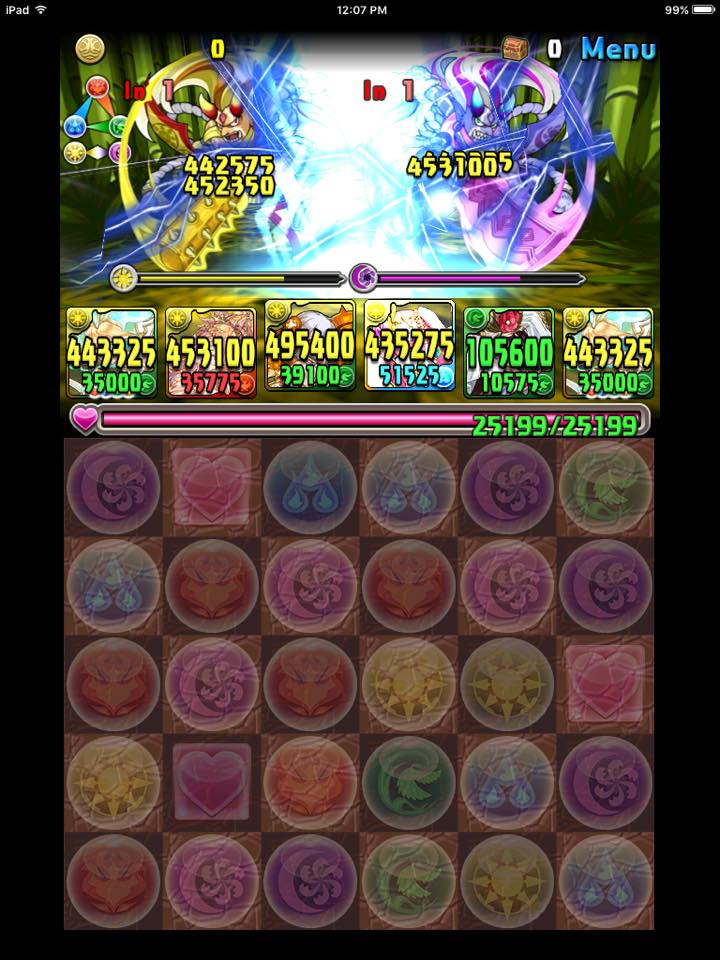
BOSS BATTLE: Congrats on either reading this far or making it to floor 6 of the dungeon! She is a pretty tanky boss at 2.35M (4.40M) hp but her true killer is losing two seconds to move orbs for ten turns (which she will refresh) preemptively. If you came into this floor skill locked, this is going to be hell. One thing to note is she has no execute ability so you should be able to tank every hit provided you are at full hp. She will cycle between three different attacks and only inserts a 1-3 God bind when under 50% and then resumes her cycle.
- An Invitation to Corruption: converting 8 random orbs into poison (no damage dealt)
- Despairing Lament 6335 (11819) with X orb -> Jammers
- Fires of Deicide 9505 (17730)
If unable to one shot, you will need to deal with this 3 move cycle and can become overwhelmed over time as hearts may run out or worse, having them turned into jammers/poison. When dealing with poison, I will never trigger the poison orb match if I am unable to heal in the same turn. This is because the poison orb deals damage, then the healing will take place after. The idea is to keep your hp as high as possible throughout this boss battle. It is okay to leave at least 3 poison orbs on the board and deal with them later when it is safe to remove. Jammers simply act as dead orbs and do not cause damage when matched. Do note, both poison and jammer combos contribute to your total combos activated so if you team needs X combos to proc damage, these count. Keep in mind, board refreshes do remove these pesky orbs so you can come prepared with an active (provided not skill locked) to clear up the board!
You do get a ‘freebie’ turn if you push her below 50% hp as she will always bind your gods for 1-3 turns. You can use this to your advantage as you will not take damage and if your team has few gods/unbindable gods/reliable bind clear, you get a free turn. Lastly, keep in mind you have 2 LESS seconds to move orbs so your matches have to be well planned out and rehearsed prior to moving. Take your time since she removed it =) Lastly, you are able to avoid the time delay through either heavy time extension awakenings, or actives that allow free orb movement.


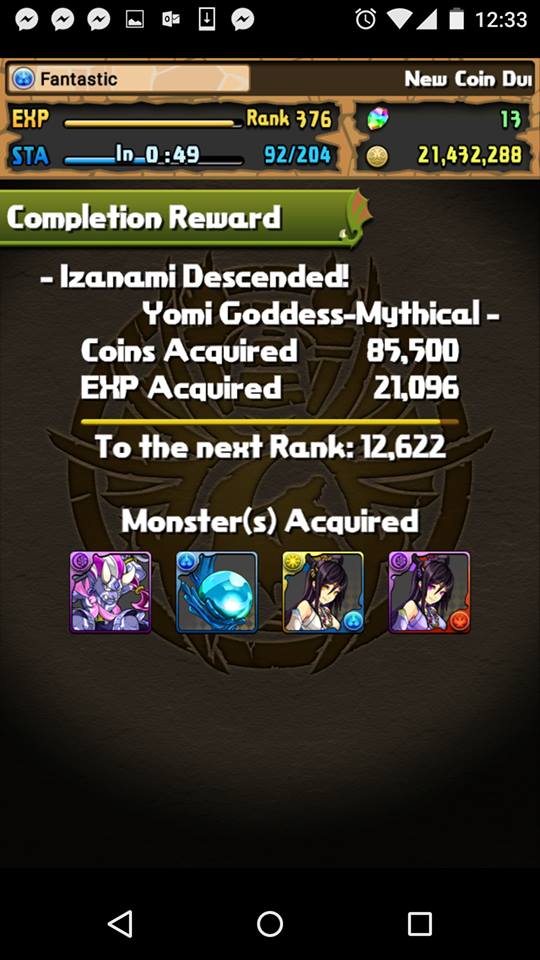
Thank you for reading this far and I dearly hope this guide has provided some insight in how to zero stoning this enjoyable and rewarding descend. Any and all feedback is greatly appreciated and happy puzzling! Enjoy some victory screens with invades =D

Also note that you can negate Dark Izanami’s Mirthless Smile by using an active which INCREASES your movetime, since it completely cancels her timer debuff and overwrites it with your buff.
Examples imclude some Awoken cards such as Awoken Bastet or I think Awoken Hades also does so.
LikeLike
Ohh that is a really good point! I have not had much usage with those increase movement time actives as my 4 main teams do not run any of those. But if it does overwrite the delay, that is pretty amazing. I am going to assume she does re-reoverwrite on next turn though?
LikeLike
I would assume so, but I actually own nosuch cards myself,haha. Heard about it from fellow players though whodo, and whospecifically use it to counter DIza.
LikeLike
Not only can you negate her time reduction but if you can keep using them (2x bastet), she will not do anything but continue to use that same ability instead of ‘anything’ else.
LikeLike
Awesome! That is really great to know how you can by pass this ‘older’ mechanic with the new tools we have available =D
LikeLike